Xerox Multi-Function Device Printing
Xerox devices located in Carroll Hall utilize Pharos print management software. With Pharos, you may retrieve your print job from any Xerox device in our building.
Note: You may elect to upload print documents via My Print Center. This allows you to print from any device. Please see Mobile Print documentation for further details.
Install printers:
- Apple macOS: Open the Self Service app found in your Applications folder. Locate the UNC-MJ-Printers category. Select Install Xerox Print Queues.
- Microsoft Windows: Open Software Center found in your Applications. Select the Application tab in Software Center. Select Carroll Hall Printing B&W/Color x64.
Please submit a help request via help.unc.edu if you need assistance with printer installations.
Steps to print:
- Select print from your current application.
- Select Xerox_BlackAndWhite for black and white print OR Xerox_Color for color prints.
- After clicking print, the job will be sent to the Pharos queue and retrievable from any Xerox device.
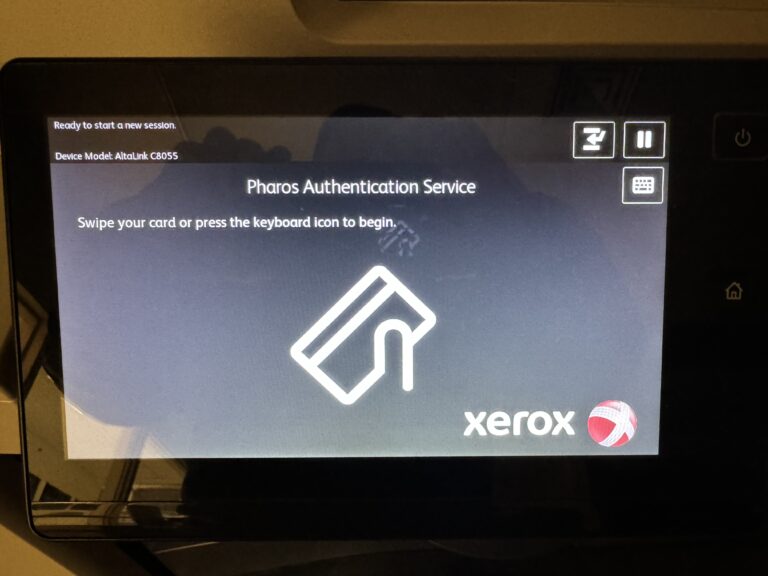
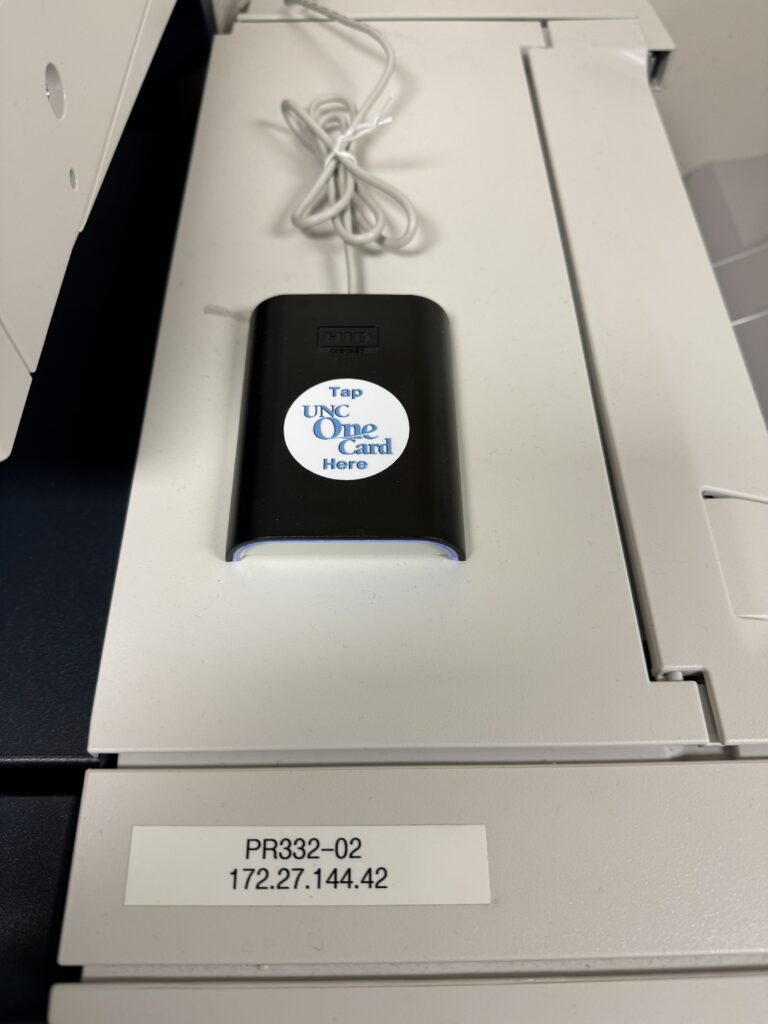
Steps to retrieve your print job:
-
Tap your OneCard at the reader located on the Xerox device.
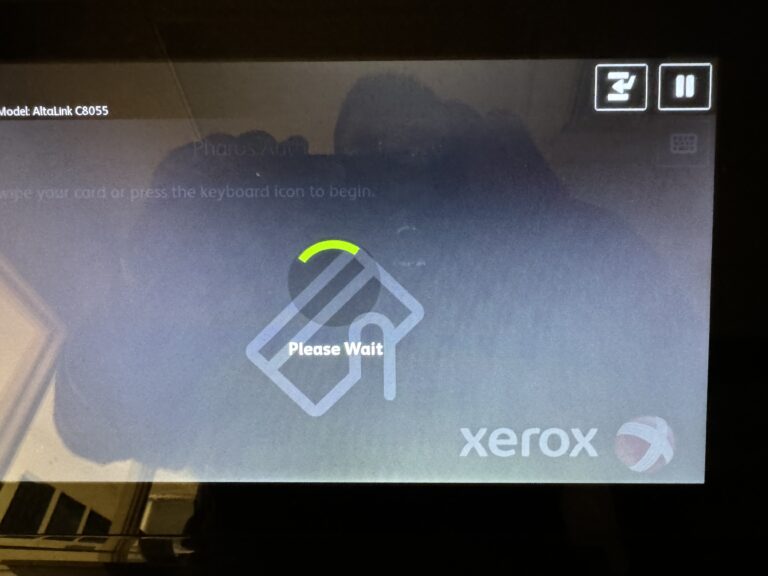
-
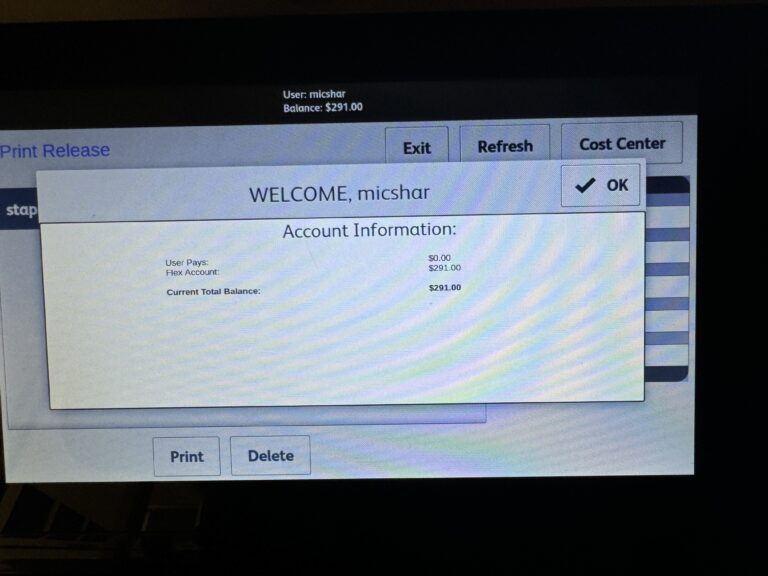
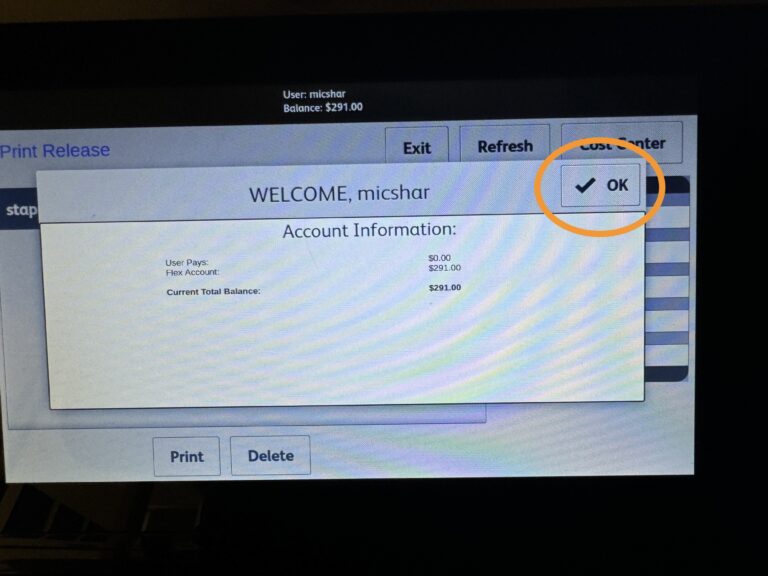
After you have tapped your OneCard or your phone, you’ll be logged in the system. Select OK to dismiss the account information screen.
-
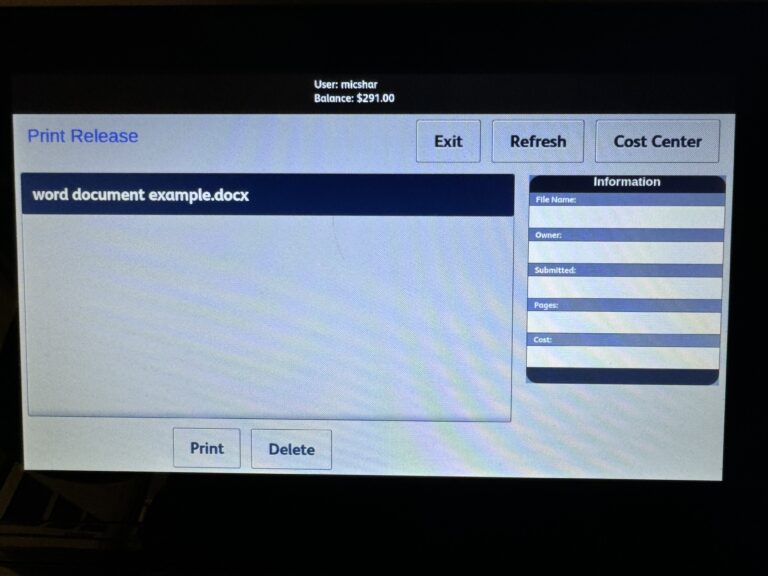
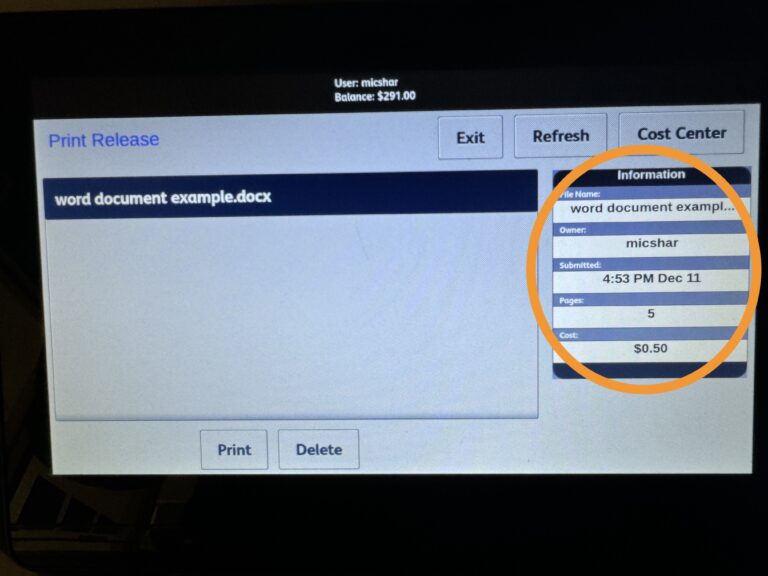
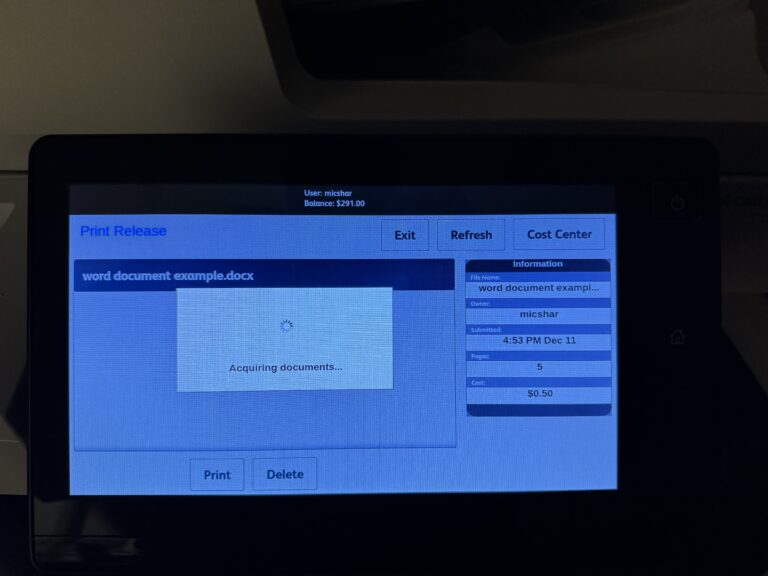
View and select your print job. Note: Each print job must be selected by touching the job on the screen. Once the job is selected, information pertaining to the job will be display on the right.
-
Select Print after the job is selected and you see the information displayed on the right.

- Retrieve your print job from the tray.
The delete option does not present the user with a confirmation. If you delete a job, you will need to resend it.
If your account is low on funds, please submit a ticket to help.unc.edu and we will allocate additional funds. Each semester, your allocation is renewed automatically. The funds represent allocation only and have no monetary value.