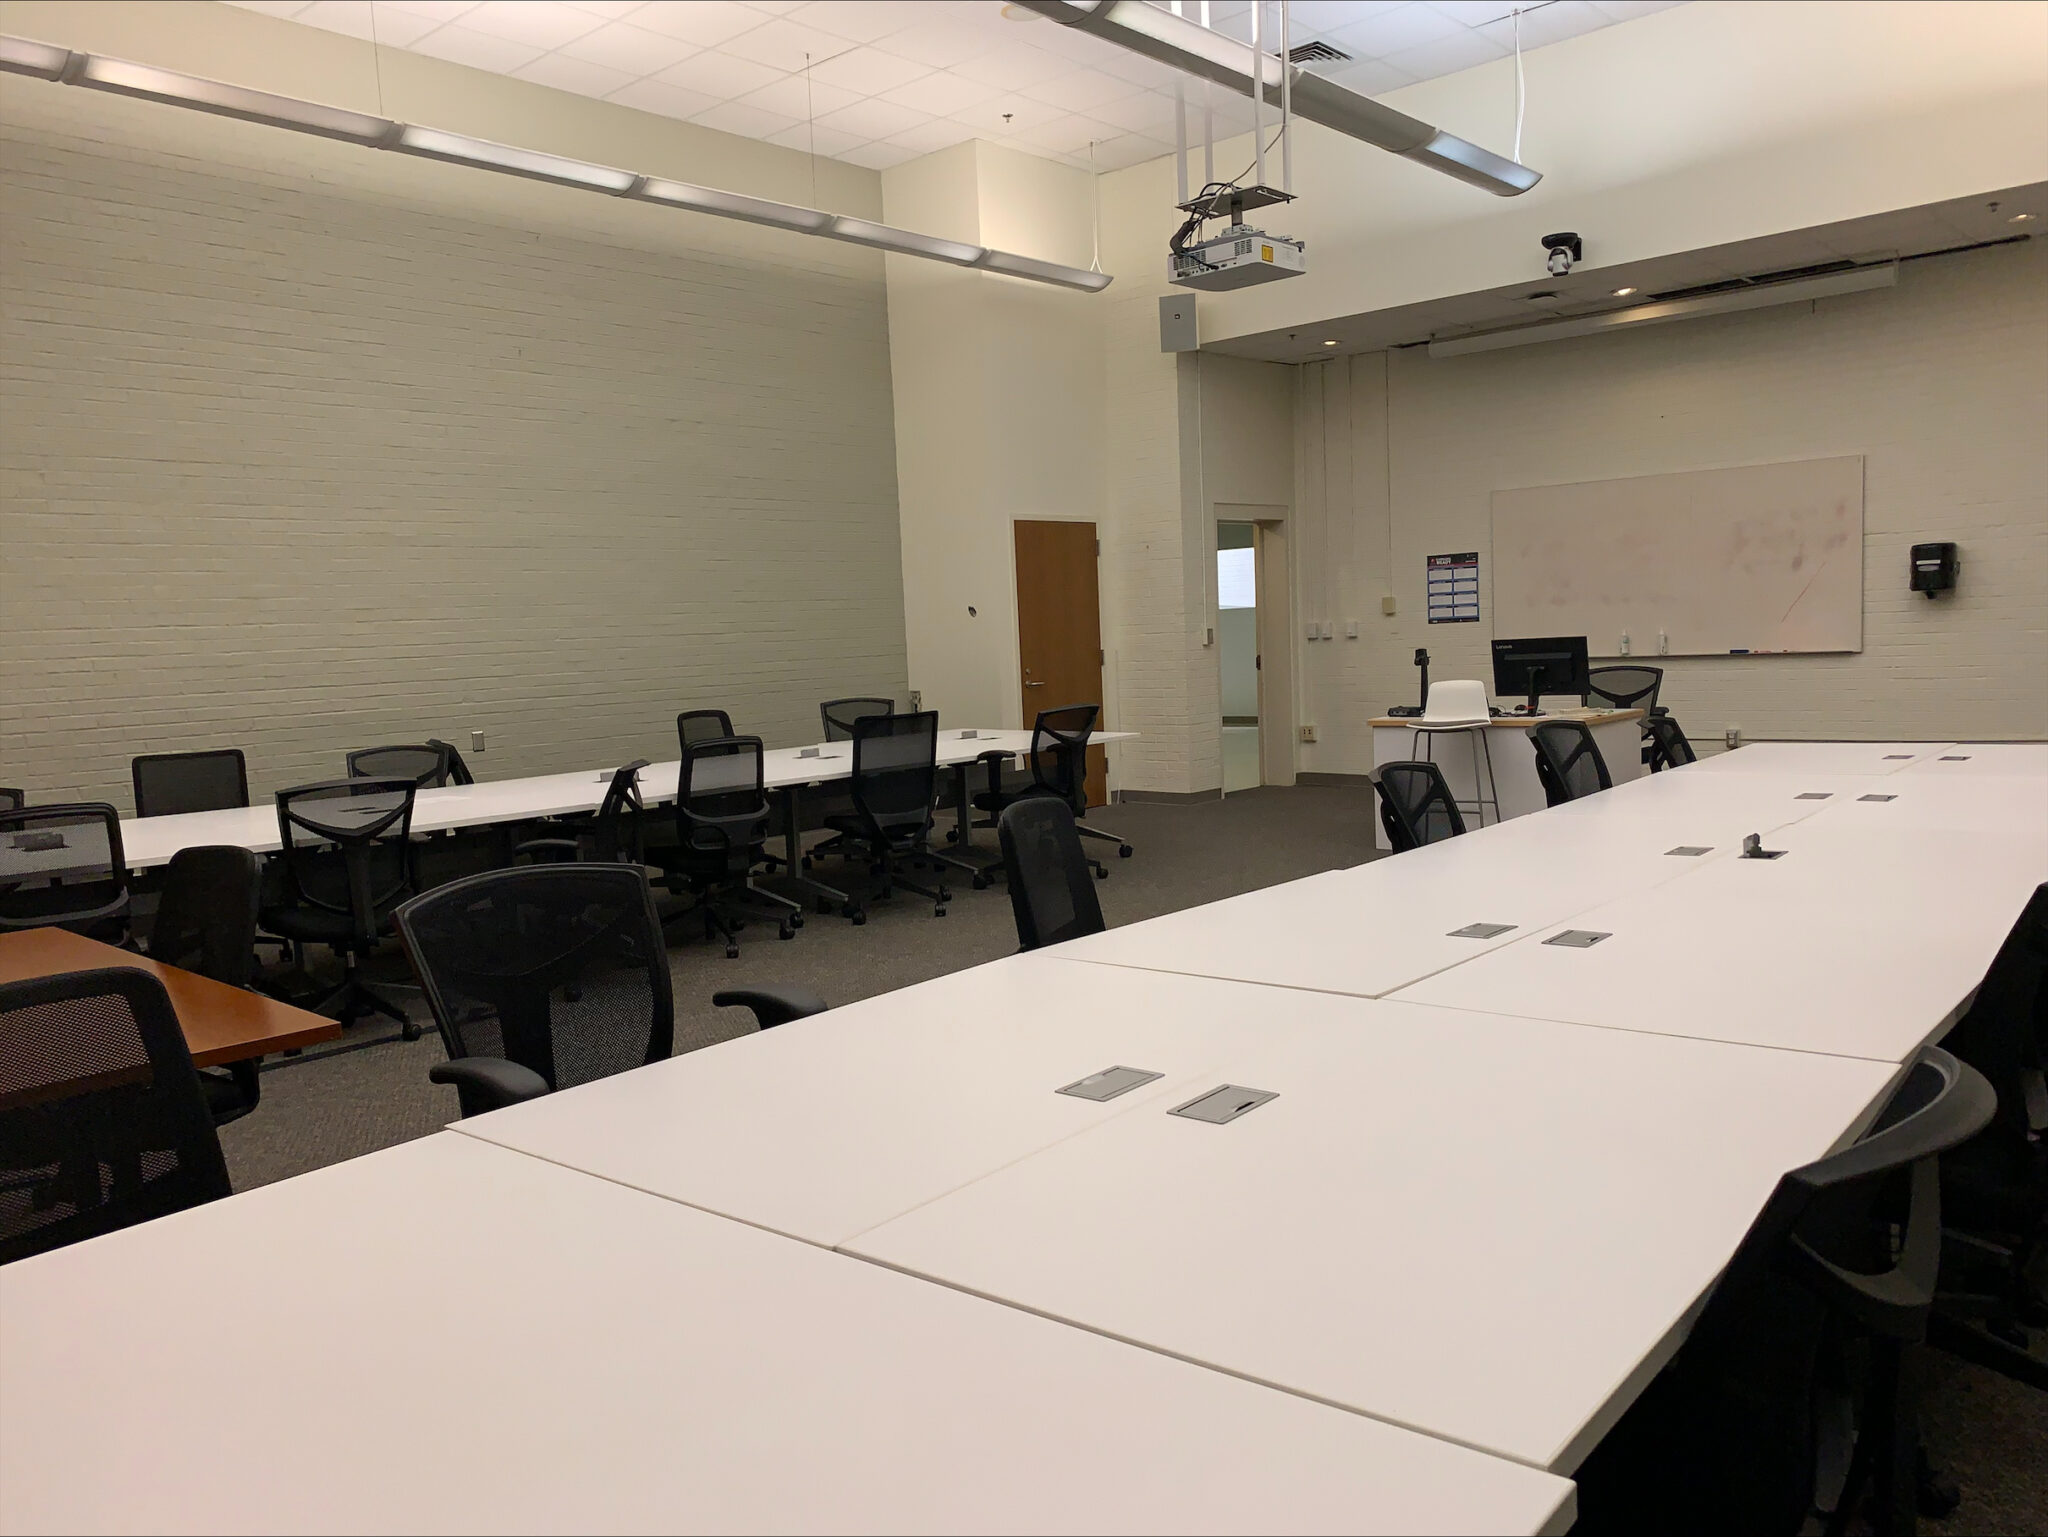
Carroll 141
Room Info
Capacity: 40
Type: Classroom
Technology Guidelines
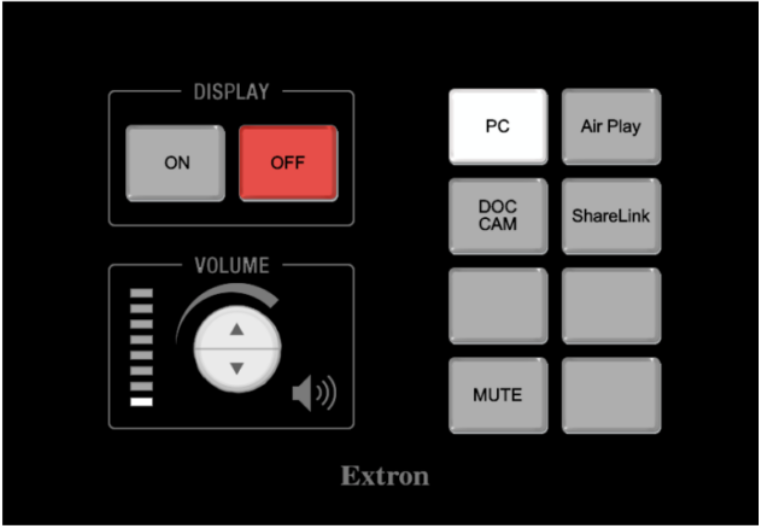
- To start class press the ON button. This sets the room to its default settings for all audio and video.
- Select the desired source to be displayed and heard in the room. NOTE: Using the PC in the room is the only way to take advantage of the room’s cameras and microphones.
- Pressing the MUTE button will stop audio and video in the room. You will still see the PC on local display.

- The PC has a DVD and two USB ports on the front panel. The power button is on the far right.
- NOTE: Copyrighted material may not show up on the screen or be sharable through Zoom.
- If there are remote students, use the instructor computer for the best experience for all participants.
- If problems are encountered, try rebooting.
Zoom Quick Start Guide
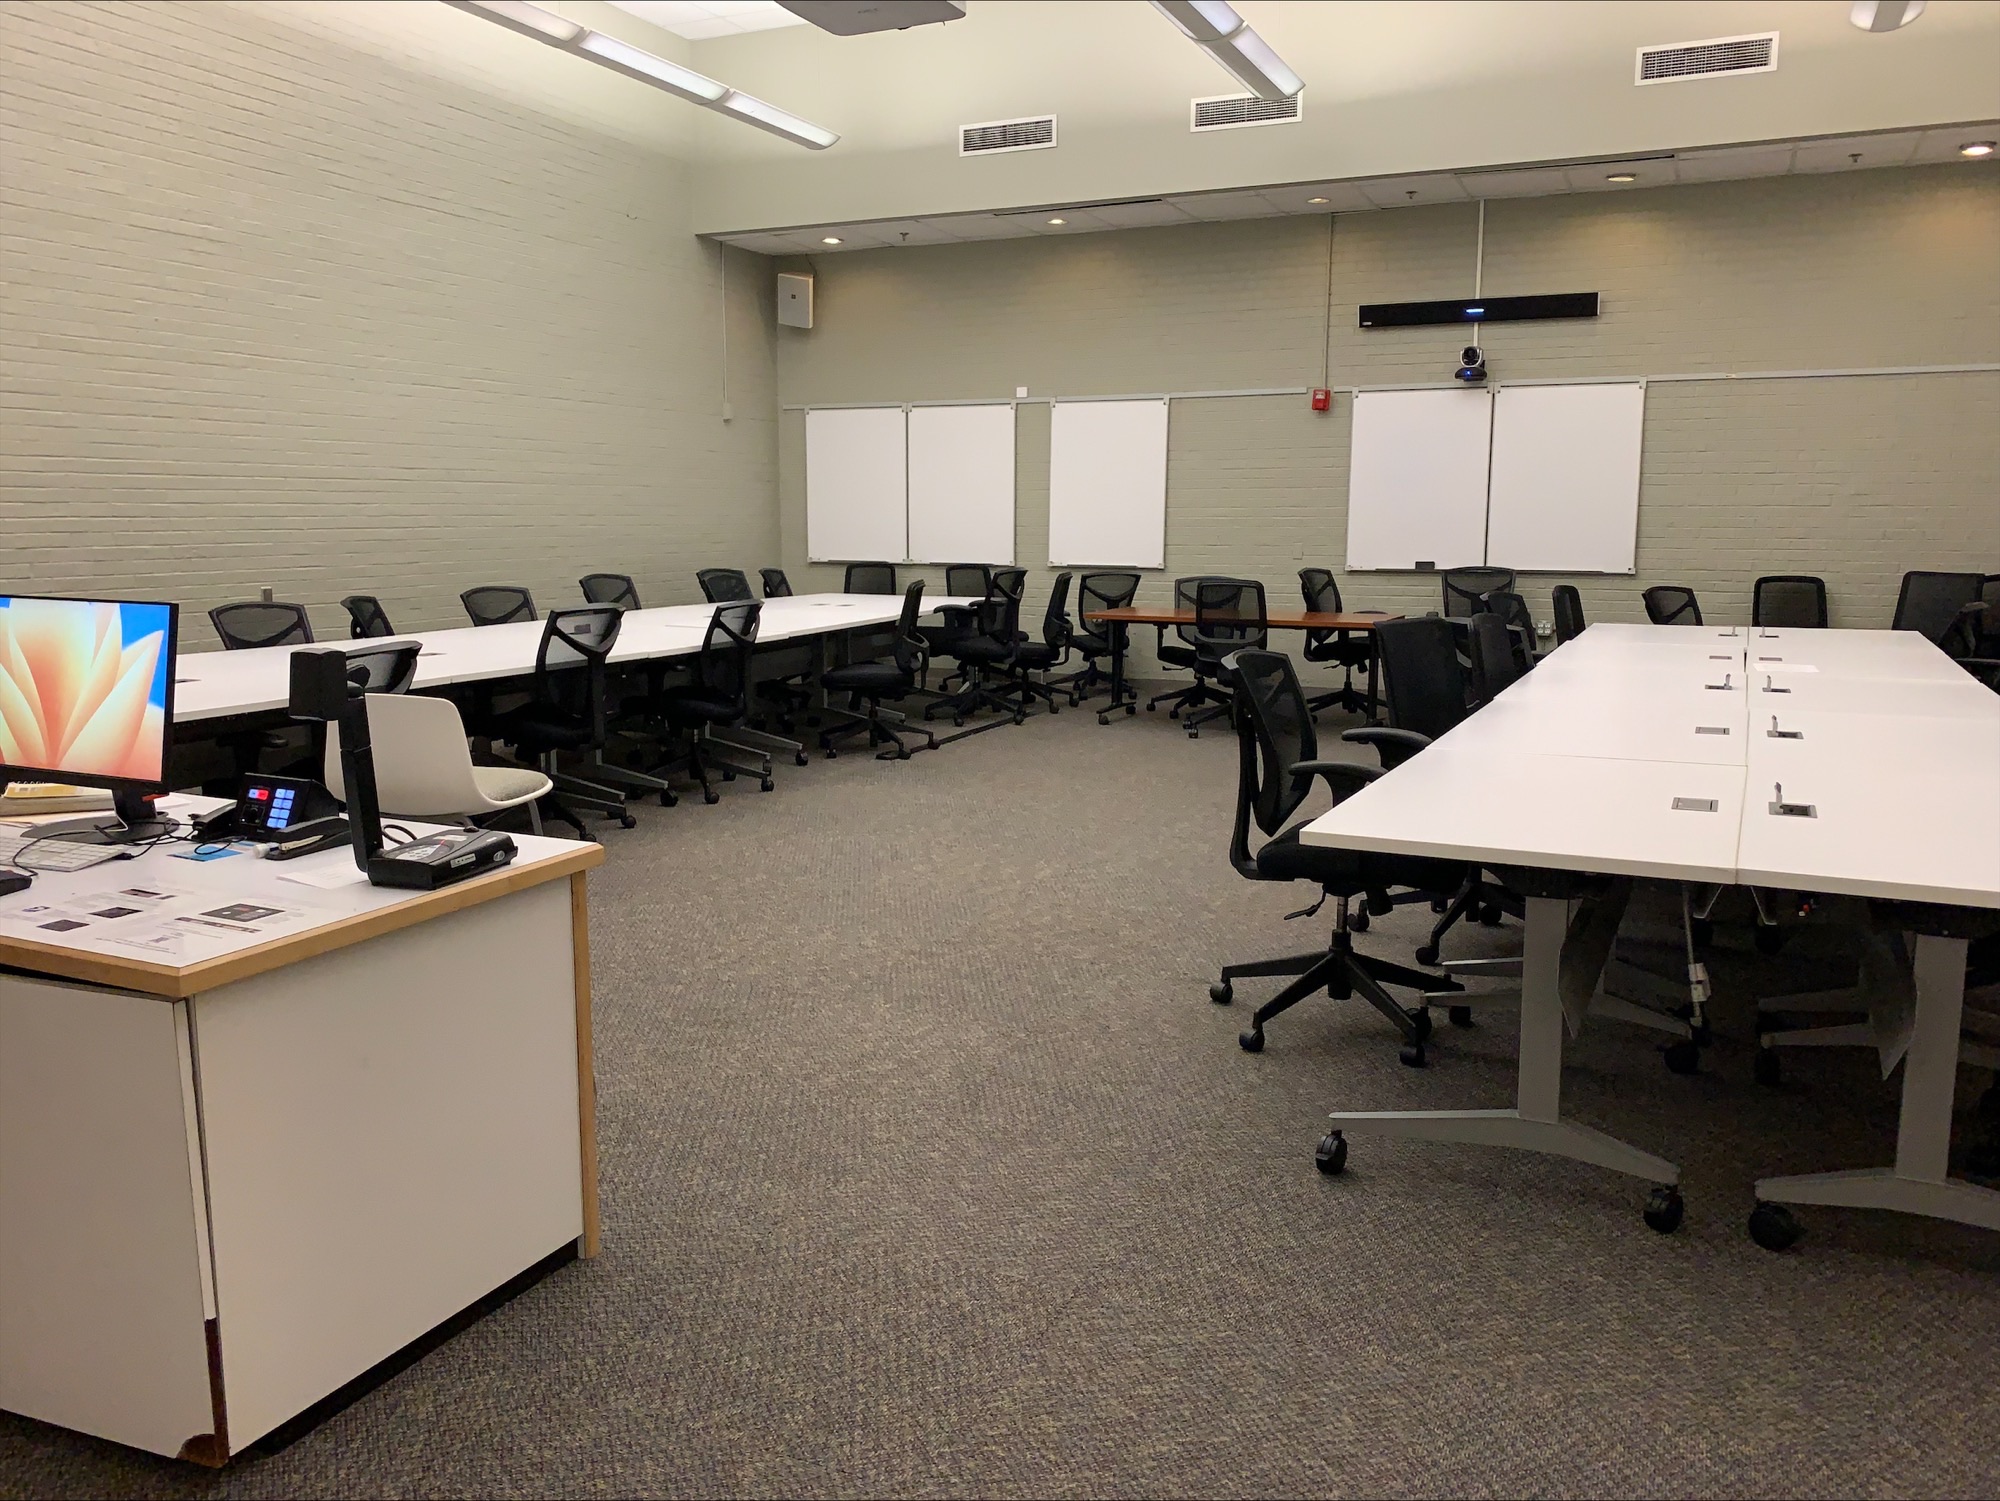
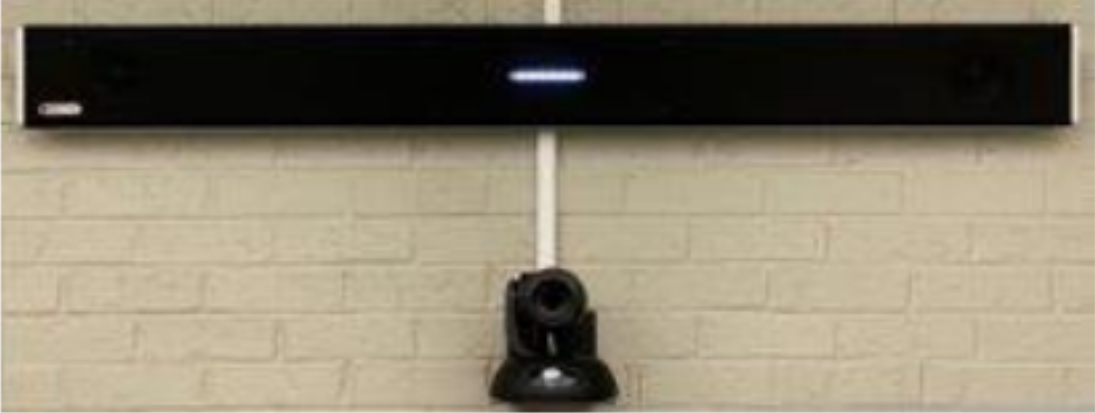
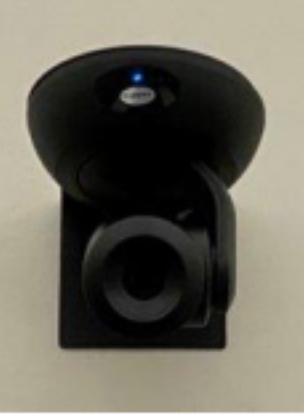
This room is equipped with two Pan-Tilt-Zoom cameras and a microphone array that covers the entire room. The microphone array requires no action by the user. It is always on.
| Image 1 | Image 2 |
|---|---|
 |
 |
- If the computer is not displaying on the local monitor, tap the keyboard to wake up the machine.
- Using the room’s controller, press ON. The room’s projector will turn on, the screen will lower, the instructor’s machine will be routed to the projector and the room audio will be set to a comfortable listening level.
- Open Zoom and sign in as you normally would.
- Zoom will default to the new microphones and one of the cameras.
Camera Selection
- To select the desired camera, go to the Zoom settings/preferences or click the UP arrow beside the camera icon in the Zoom interface.
- Click on the menu to see all the available cameras.
Camera Controls
- Camera controls can be accessed by clicking on the camera’s shortcuts on each instructor’s station desktop.
- These shortcuts are names Instructor Camera and Student Camera, respectively. They will auto open a Chrome window that shows the GUI.
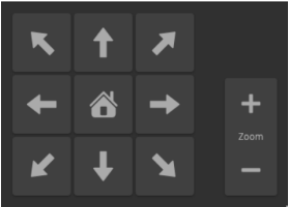
- With the Zoom camera window in view, adjust the camera using the GUI to achieve the desired shot. Clicking the “HOME” icon will place the camera in its default position.
| Image 1 | Image 2 |
|---|---|
 |
 |
For more help, make a request at help.unc.edu or call 919-962-4800. Classroom support is available Monday-Friday, 8am-5pm.